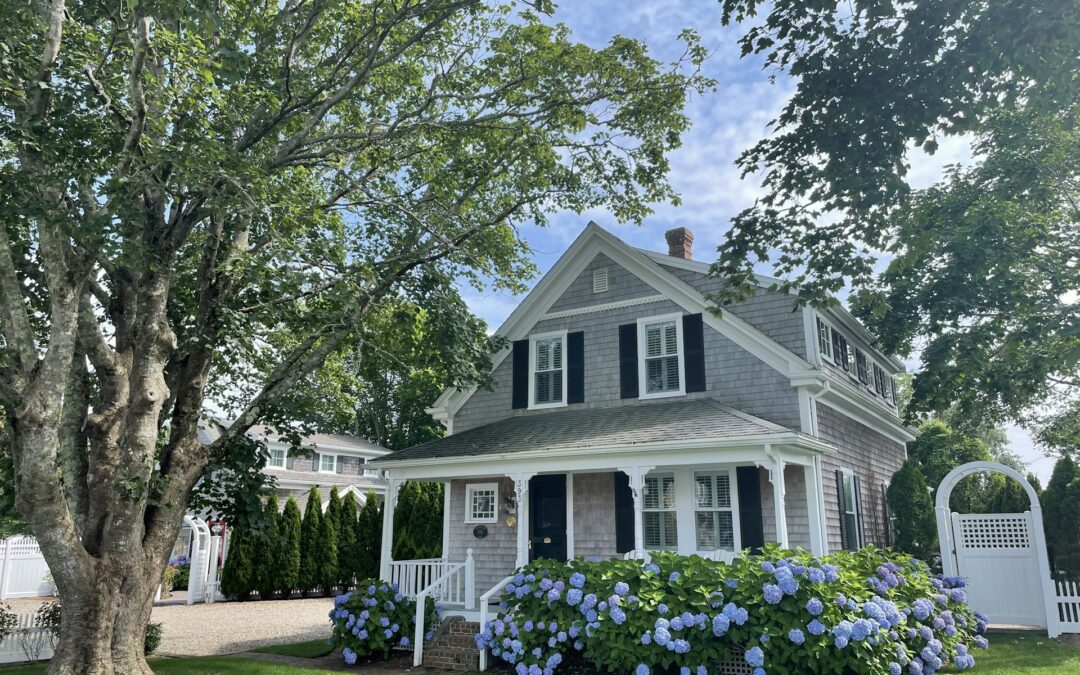
When Sarah and Tom bought their 1952 Cape Cod in Portland’s Deering neighborhood, they fell in love with the tree-lined street, the walkability to Baxter Woods, and the character of the home itself. What they didn’t love was their first winter heating bill.
“We were burning about 1,300 gallons of oil a year,” Tom told us. “At over four dollars a gallon, we were spending close to $5,500 a year on heat — and most of that hit in a four-month window. December through March was brutal. We’d get a $900 oil delivery every three or four weeks.”
Their story is one we hear constantly at Horizon Homes. Cape Cods are one of the most common home styles in Greater Portland, and they share a set of predictable energy problems. The good news is that those problems have proven solutions.
The Problems: A Familiar Pattern
Sarah and Tom’s home had the classic symptoms of a poorly insulated Cape Cod:
- Frigid second floor: The upstairs bedrooms, tucked under the roofline with knee walls and sloped ceilings, were consistently 8-10 degrees colder than the first floor.
- Ice dams every winter: By mid-January, thick ridges of ice formed along the eaves, and they’d already dealt with one leak above a bedroom window.
- Massive heating bills: Their oil boiler was running almost nonstop from November through March, burning through about 1,300 gallons per season — with the heaviest usage clustered in the coldest months.
- Drafts everywhere: Cold air poured in around the attic hatch, the knee wall areas, and the rim joists in the basement.
None of this surprised us. In fact, Cape Cods are one of the trickiest home styles to insulate properly because of their complex geometry. The second floor living space is partially inside the attic, which means the boundary between “inside” and “outside” isn’t always clear — and in many older homes, it was never sealed or insulated correctly in the first place.
The Assessment: Finding What’s Hidden
Our energy advisor visited Sarah and Tom’s home in late September for a free energy assessment. This is a thorough visual inspection — about an hour of going through the home systematically, checking every area from attic to basement and identifying all the opportunity areas.
In a Cape Cod, we know exactly where to look. The geometry of these homes creates a predictable set of problem areas, and an experienced advisor can identify them visually without needing diagnostic equipment. Here’s what we found:
- Knee walls: The short vertical walls where the second-floor rooms meet the sloped roof had thin, compressed fiberglass batts that had slumped over the decades. But the real issue was that the knee wall area wasn’t insulated at the roofline — meaning cold attic air was getting behind and above the knee walls, essentially surrounding the bedrooms with unconditioned space. The fix: insulate at the roofline to bring the knee wall area inside the building envelope.
- Enclosed sloped ceilings: The rafter bays in the sloped ceiling sections between the knee walls and the flat ceiling had little to no insulation — a common Cape Cod problem that’s invisible from inside the room.
- Flat ceiling: The flat attic floor above the second-floor ceiling had thin, degraded insulation in several areas, with visible gaps.
- Band joist (second floor): The band joist area where the second floor framing meets the exterior walls was uninsulated and unsealed — a major source of air leakage.
- Basement rim joist: Completely uninsulated, with visible daylight in spots. Essentially a continuous gap between the house frame and the foundation.
- Basement walls: No insulation on the foundation walls, contributing to both heat loss and moisture problems.
- Multiple air leakage paths through the attic hatch, plumbing and electrical penetrations, and around recessed lights.
“It was actually kind of a relief,” Tom said. “We’d been throwing money at the heating bill for three years. Having someone walk through and point to every spot where heat was escaping made it feel fixable.”
The Solution: Air Sealing + Insulation
We designed a scope of work that addressed the home as a system, starting with sealing the air leaks and then adding insulation where it was missing or inadequate.
Phase 1: Air Sealing
Before adding any insulation, our crew spent a full day sealing the gaps and penetrations we’d identified. This is the step that many contractors skip, and it’s the step that makes the biggest difference. Insulation slows heat transfer, but it doesn’t stop air movement. If you insulate without air sealing, you’re putting on a sweater with holes in it.
We sealed:
- All penetrations through the attic floor (wiring, plumbing stacks, bathroom exhaust)
- The attic hatch with weatherstripping and a foam board cover
- The tops of interior partition walls where they meet the attic floor
- Gaps around recessed light housings (using IC-rated covers)
- The band joist at the second floor
- Basement rim joists with two-part foam and rigid board
Phase 2: Insulation
With the air barrier in place, we insulated using dense-pack cellulose, which is our go-to material for retrofitting existing homes. Cellulose is made from recycled paper fiber, resists air movement, and fills irregular cavities far better than fiberglass batts. It’s also one of the most cost-effective insulation materials available.
We insulated:
- The knee wall area — insulated at the roofline to bring the entire knee wall space inside the conditioned envelope
- The enclosed sloped ceiling sections between the rafters
- The flat attic ceiling to R-60 (about 16 inches of cellulose)
- The basement rim joists (rigid foam + cellulose)
- The basement walls with rigid foam board
The entire project — assessment, air sealing, and insulation — was completed in three weeks, with about four days of on-site work.
The Results: Before and After
The first winter after the work told the story:
| Metric | Before | After |
|---|---|---|
| Annual Oil Consumption | ~1,300 gallons | ~750 gallons |
| Annual Heating Cost (at $4.20/gal) | ~$5,460 | ~$3,150 |
| Estimated Annual Savings | ~$2,300/year | |
| Second Floor Temperature Difference | 8-10°F colder | 2-3°F colder |
Over the full heating season, Sarah and Tom cut their oil consumption by about 42% — and that’s before any heating system upgrade. The second floor went from barely livable in January to comfortable year-round.
“But honestly, the comfort difference matters more than the money,” Sarah said. “The kids actually use their bedrooms now. And we didn’t have a single ice dam that winter.”
The ice dams disappeared because heat was no longer escaping through the roof. When the attic stays cold (as it should), snow doesn’t melt and refreeze at the eaves. It’s that simple.
The Investment and Rebates
The total project cost was approximately $12,500. Through Efficiency Maine’s Home Energy Savings Program, Sarah and Tom received $4,000 in rebates, bringing their net cost down to about $8,500.
At $2,300 per year in heating savings, the payback period is under four years. And those savings continue year after year, while the comfort improvement is immediate.
“We wish we’d done it the first year we moved in,” Tom told us. “Three winters of massive oil bills and cold rooms — we could have avoided all of that.”
What’s Next for This Home
Sarah and Tom are now considering a cold-climate heat pump to replace their aging oil boiler. Because their home is now well-insulated and tight, they’ll need a smaller system than they would have before the weatherization work — which means lower equipment costs and better performance. With the envelope already addressed, upgrading the heating system is a straightforward next step.
That’s the whole-home approach in action: insulate first, then right-size the heating system. It’s smarter, and it costs less in the long run.
Does This Sound Like Your Home?
If you live in a Cape Cod, Colonial, or any older home in Greater Portland and you’re dealing with high heating bills, uneven temperatures, or ice dams, there’s a good chance your home has the same issues Sarah and Tom’s did. And the same solutions will work.
We’ve been doing this work across southern Maine since 2006. Every home is different, but the building science is the same.
Ready to Find Out What’s Going On in Your Home?
Schedule a free energy assessment with Horizon Homes. We’ll do a thorough visual inspection, show you where the problems are, and give you a clear plan with costs and rebate estimates — no pressure, no obligation.
Or call us at (207) 221-3221. We serve Portland, South Portland, Westbrook, Scarborough, Falmouth, Cape Elizabeth, and surrounding communities.
Note: This case study is based on a composite of real projects completed by Horizon Homes in the Greater Portland area. Names and specific details have been changed to protect client privacy. Results vary by home.